Vehicles
Configuring custom vehicles for the vehicles app
Vehicle Labels
To change / create vehicle names, you have to either use an existant resource or create one that manages vehicle labels and then insert the code written below. You also have to find the correct model name of your vehicle you wish to add a display name for.
Please note, that vehicle_model should match the <gameName> value in your vehicles.meta file. Example:
...
<modelName>adder</modelName>
<txdName>adder</txdName>
<handlingId>adder</handlingId>
<gameName>adder</gameName>
<vehicleMakeName>TRUFFADE</vehicleMakeName>
...
Your client script should look like this:
AddTextEntry('adder', 'Adder')Vehicle images
You can take pictures using our built in greenscreen system! All you have to do is just use the command /carstudio with a list of model names separated by a comma, as such:
/carstudio adder,zentorno,ninefAfter the script is done, all new entries of vehicle photos will be appended automatically to the config, and saved in ui/img/vehicles directory!
Using this requires having screenshot-basic installed!
Alternative methods
A tool for taking pictures of vehicles with support for dynamic vehicle colors is currently in the works, for the time being you can use the greenscreen resource below.
Bentix-cs/fivem-greenscreener
225
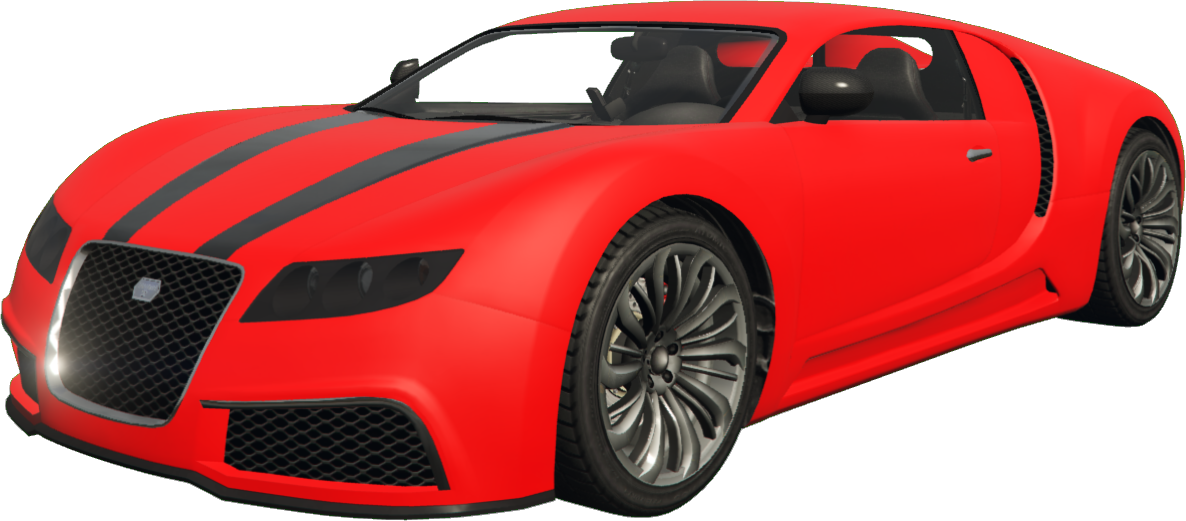
Picture of the car should be:
- In
.pngformat. - With a transparent background.
- Cropped to fill the entire frame with the vehicle.
- A maximum of 2:1 aspect ratio, any wider than that will likely not fit the container.
The picture of your car should look something like this
After that, put your vehicle model image into the following directory:
Adding vehicles to the config
Adding the vehicles is pretty straightforward, there is even a pre-added example in the config:
vehicles = {
    model_name = {
        baseImg = "./img/vehicles/model_name.png"
    }
},
Last updated on